The Rejection
They already knew us; we had been talking for weeks. They had assisted in some critical design pieces. So, when the BIG day came and we headed to Building & Planning and attempted to submit our design and supporting documents to build our shipping container home and were told NO, we were shocked. They had ‘dropped a surprise bombshell’ on us. To cover themselves, I am sure, they were requiring a structural engineer to provide calculations on the strength of our sheer walls and container. They wanted to know if they would be strong enough to be a home. Hello, they are metal boxes!!! Of course they are strong enough.
Seriously?!?!?
Why hadn’t they mentioned this before? Would it have deterred us from our goal? Probably not, but still – nothing like last minute notice and a huge delay. Couldn’t they tell we were beyond ready to start building our shipping container home?
This was our first real lesson in the expense of building an unconventional home. This is when people & the internet say, ‘It’s cheaper and more cost effective’ didn’t really feel cheaper or more cost effective. Thankfully, Google was already my friend and had gotten me out of a jam on the spiral stairs, so I knew Google had my back 😉
I immediately started researching an engineer who had taken on other similar projects – none were to be found within a 60 mile radius of our home. I dug deeper. Google’s game was strong. What I found was a couple of news articles about an structural engineer who had taken on an impossible ‘Tree House’ project in our county and gotten it to pass through B&P.
Within days of being told that we needed an engineer, I contacted his firm and shared with him our dream. He graciously agreed to take on our project, even though his schedule was full. The only hiccup – he wanted a small fortune. Now remember, I already had the entire home designed to the inch, I just needed the calculations. He initially informed me that it would be $9,500 for the calculations and design. I countered that I only needed the calculations on my design. He finally lowered his price to $5k – for the 4 structural points, the 8’ wide sheer walls and the foundation. The bare minimums that the county was requiring. If we weren’t already so emotionally invested in our home build, this would have been a good time to run for the hills. But wait, we already had rocky, goat trailed hills that we owned – we owned the hills 😉
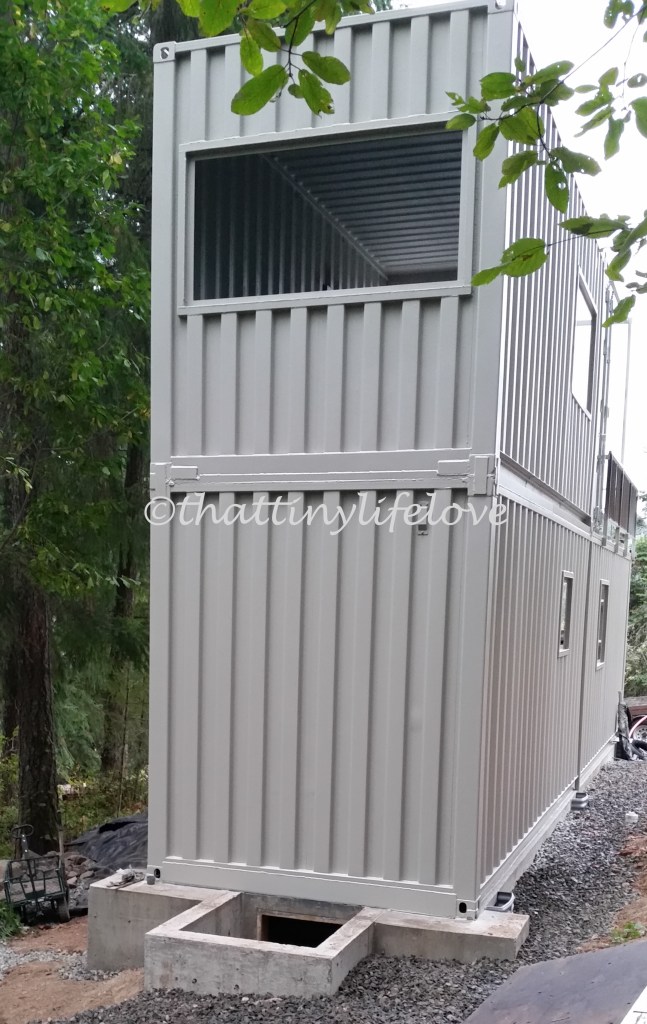
In reality, the engineer took a real fascination to our build – probably, because once again, we built rapport with him and he liked us 🙂 Told you, it never hurts. He advised us to purchase (1) trip containers for our home -meaning that they had only made (1) trip across the ocean. This helped to ensure that the containers where in as new as condition as possible, validating his calculations. While this wasn’t an expense that we were expecting, purchasing containers that were very structurally sound, with little or no dents is something we have never regretted. (1) trip containers cost more than 2x as much as multiple trip containers and so we paid almost $10,000 for our home’s outer metal shell.
My Homes Stronger Than Your Home
The truth, according to my very expensive engineers calculations, is that our home is almost 5 times stronger than a wood built home. Not sure why B&P doubted 😉 My baby sister showed up shortly after we had our containers delivered and said – ‘your house is rusting (there was a rust line on the side from metal welded to the top)’ I responded with ‘your house is rotting and I guarantee that your house won’t still be standing in 100 years, and mine will still be standing in 500 :)” Our home is strong and really will be standing right where it is today, long after we are gone. Those ridiculous and expensive calculations just proved it.
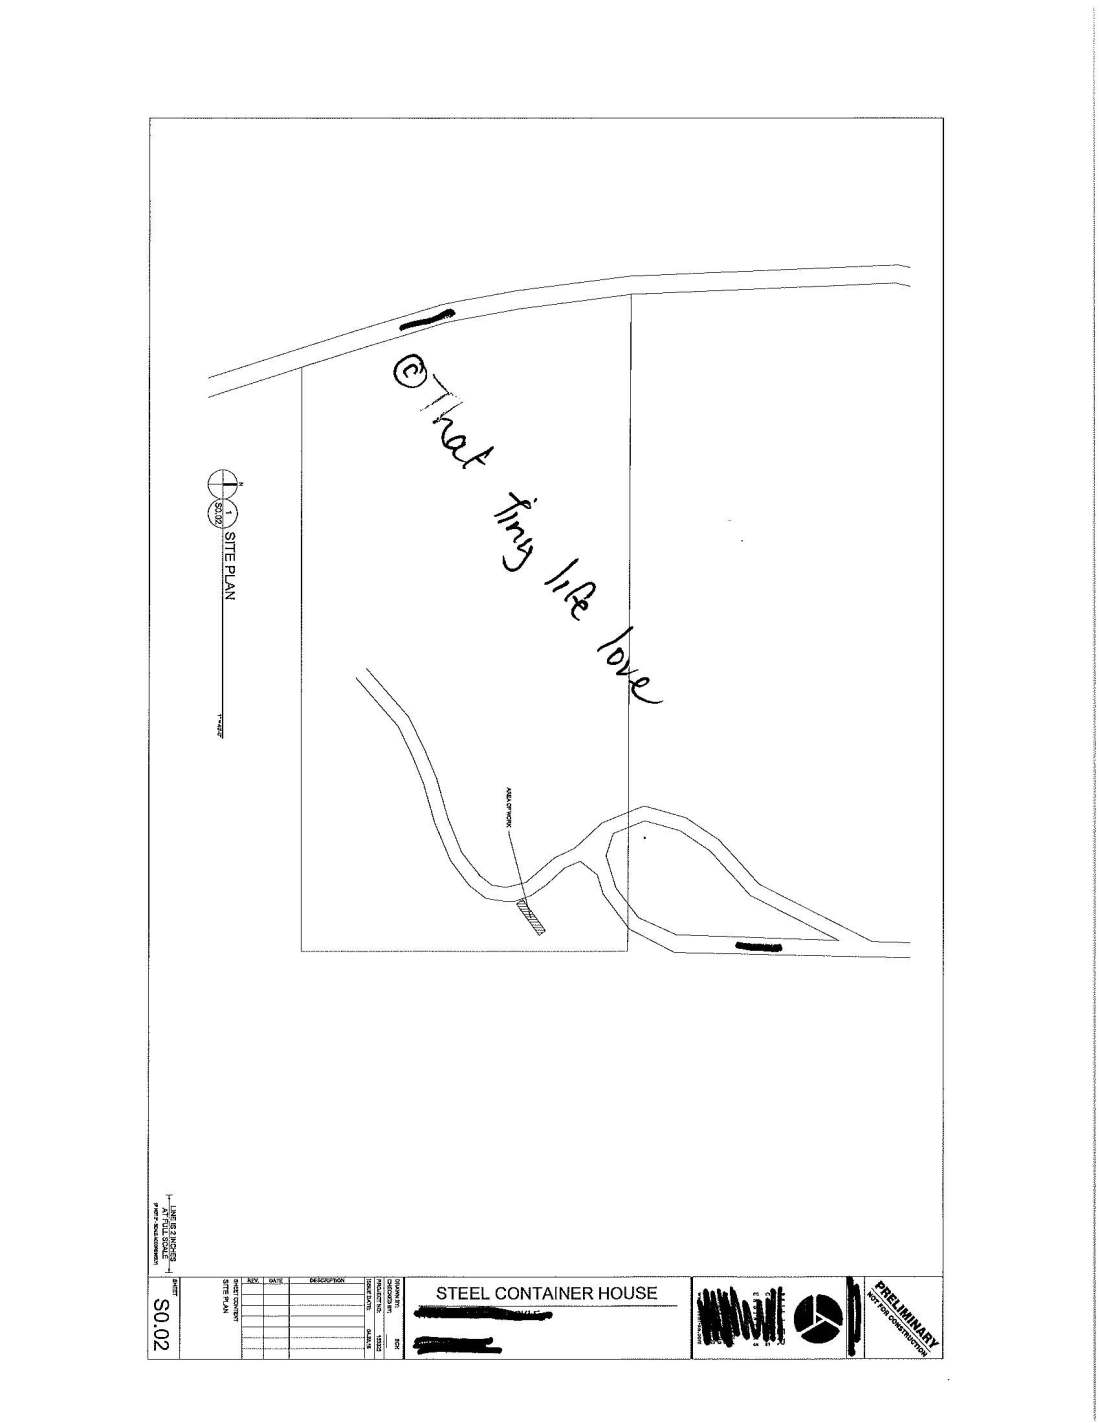
The foundation Design
The engineer designed our foundation based on our input. We wanted room underneath to work on and install the utilities. We ended up with a 3 foot foundation that our containers sit on, leaving a large crawl space under them where all of our plumbing and venting are located.


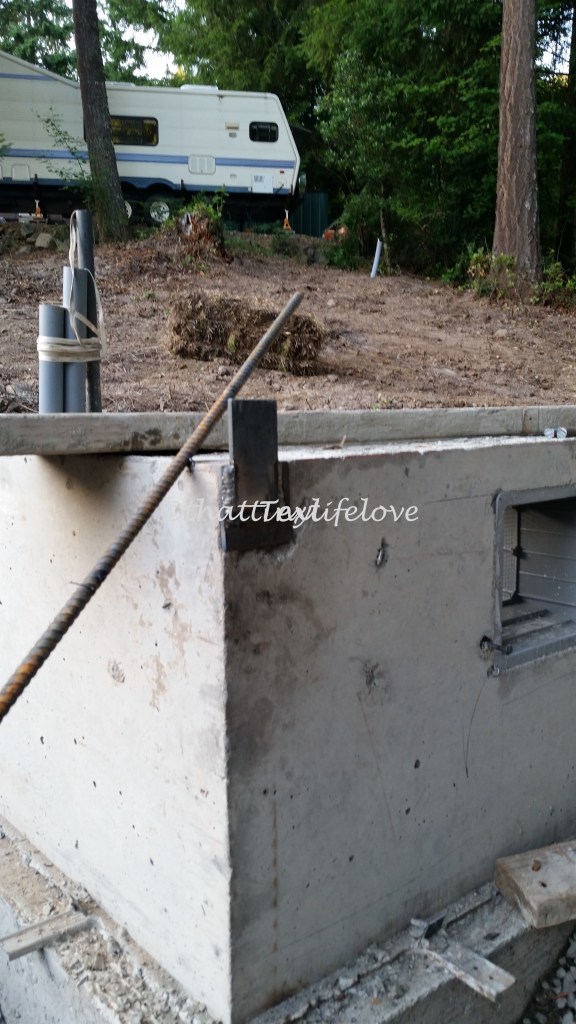
Side note – What the engineer didn’t take into account, and what we never told B&P because we fixed it before it was inspected, was that the foundation was inadequate for our containers. A container does not have the weight dispersed evenly along all four sides. There are 4 feet, one in each corner that hold all the weight. When our container was placed upon our foundation, instead of the weight being dispersed along the length of our foundation, it was centralized in the four corners. The front of our foundation has a 4’ x 8’ x 3’ concrete slab that helped to support the front of the container weight on the front 2 feet. But in the back, where there was no additional slab and the weight of the 20’ container was also placed on the back 2 feet – our foundation failed. Within a week of placing our containers, the back of our foundation was cracking and settling.

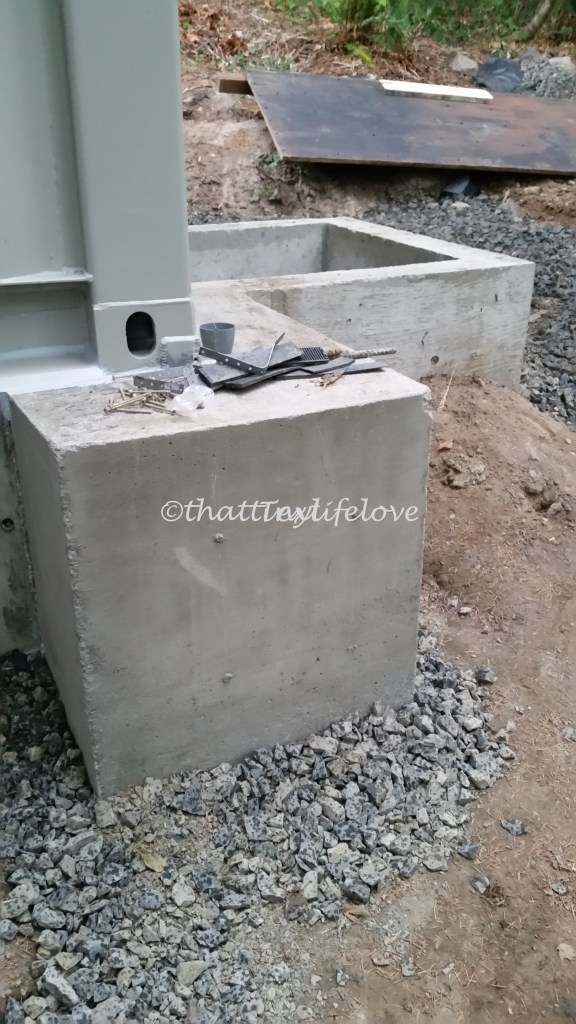
But, we are problem solvers – especially my husband. So he went to work fabricating a corner support for both the inside of the foundation and the outside. It looked like something right out of the movie, Mad Max. He then drilled and inserted rebar into the foundation at the back corners and built a grid of rebar around his metal support. Once this was completed, he formed it in and we re-enforced our foundation with an additional yard of concrete at each corner. Additionally, we installed wedges or spacers along the entire length of the container that filled in the void and placed positive pressure between the concrete footing and the metal I-beam.

Another hard lesson learned, but thankfully we were able to isolate and fix the problem before B&P discovered it. They would have forced us to remove our containers and re-engineer and
Securing The Containers To The Foundation
Unlike a traditional wood home, there is no ‘sill’ plate when placing shipping containers on a foundation. A sill plate is the mechanism that is used to secure a stick built home to a traditional foundation. In order to secure our bottom container to the foundation, our engineer called out for (4) 4″ x 2″ x 1/4″ flat plates, bent and welded to a piece of #5 rebar. One for each corner. The rebar was to be placed inside the foundation prior to being poured. Once the foundation was poured, the plate would be welded to the 4 corner tabs of the bottom container. To attach the upper shipping container to the bottom shipping container, the same size tabs (excluding the rebar) were to be welded in the 4 corners of the 20′ container. Obviously, they needed to feel confident that the containers were not going to move, but sheer weight alone will hold them in place 🙂 I am not sure the small pieces of plate are doing much good, but at least everyone at B&P could feel better about our build.
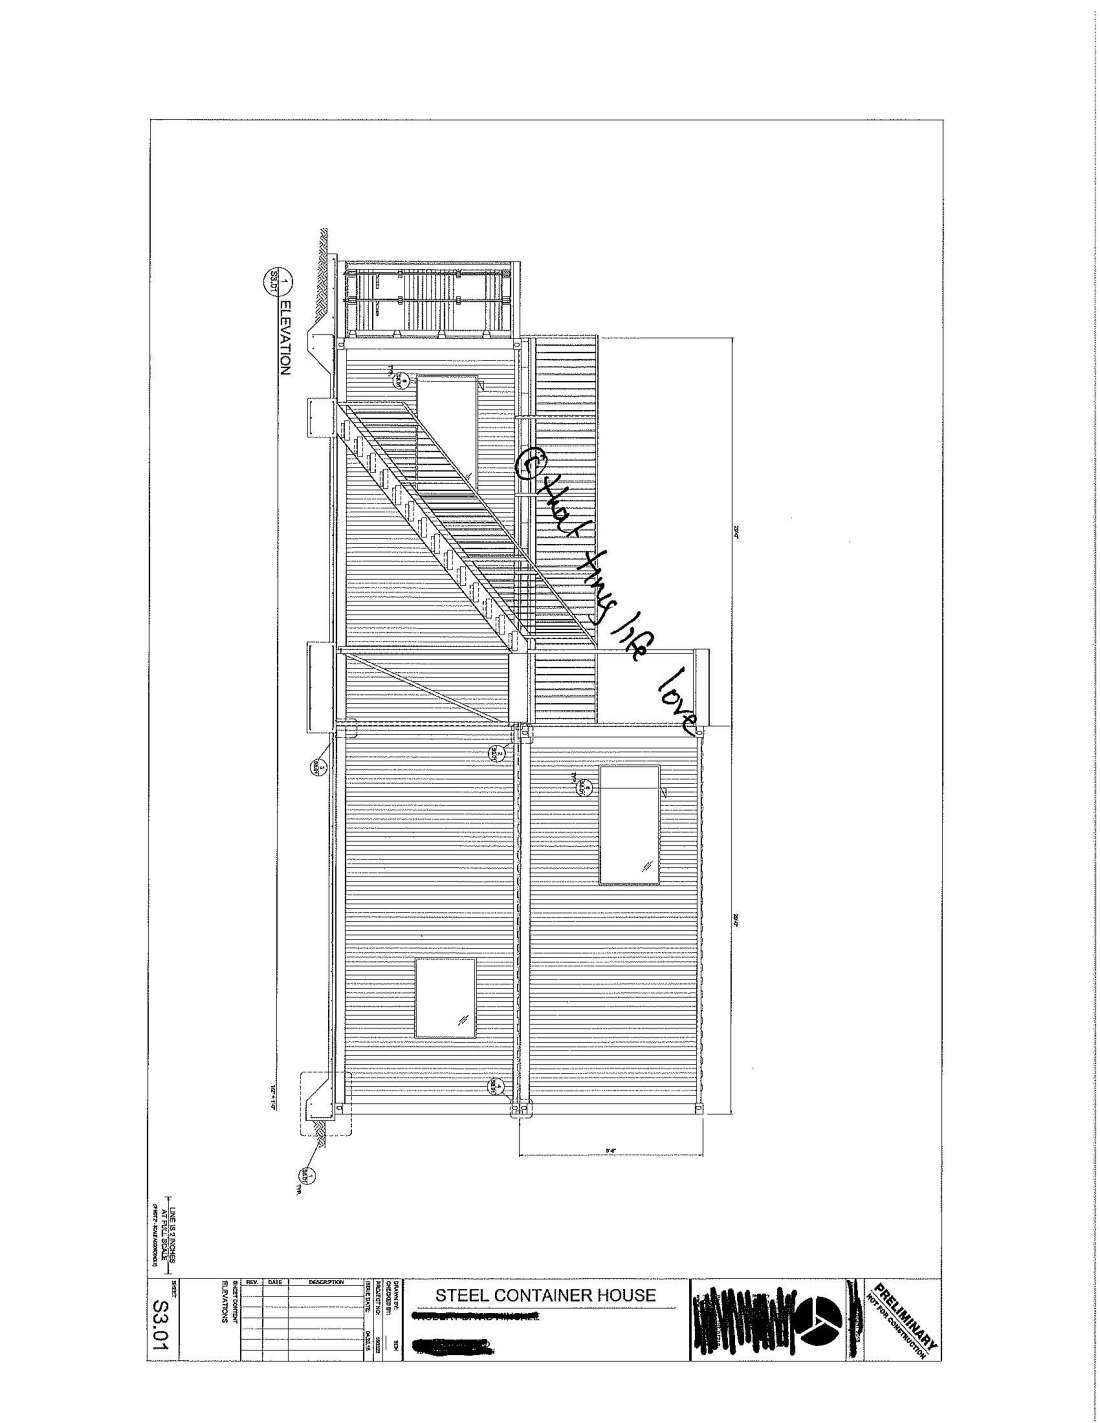
The Exterior Stairs
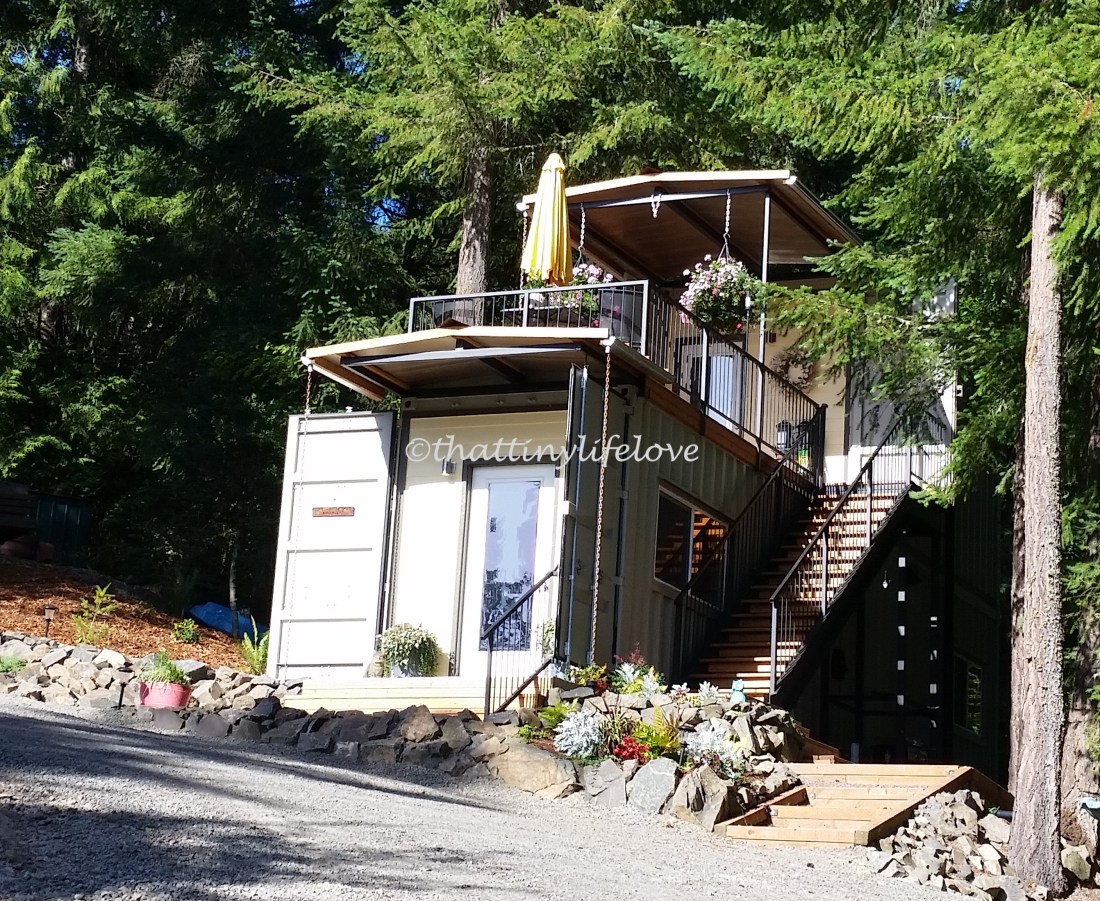
Totally overkill – ridiculously large, heavy and expensive. But the engineer added them to our exterior design as additional structural support and we fell in love. They are fabricated from a solid piece of 12″ C-Channel. Dave & I spent 3 days of his vacation in July building those stairs at his job. His employer is awesome for letting us fab them there – because they were entirely too large to fab them on our hillside. Once we had the frame constructed, we loaded them with a crane and hauled them home on our triple axle trailer. On the day the huge crane lifted our shipping containers in place, it also ‘flew’ our stairs across the skyline and set them on the custom slab built for their mammoth weight. Complete overkill – and one of our favorite features to the exterior of the home 😉


Second Attempt & Another No; WABO Certification
Our engineer’s firm was awesome and fast-tracked our calculations. Within 2 weeks of contacting his office, we had our structurally engineered plans in hand. All of the requirements that B&P had requested were addressed. Calculations, foundation and securing the shipping containers to the foundation. We were ready to try again for our building permit. So back we went… But you guessed it – rejection 😦
Our welding had to be done by a WABO certified welder. That was the other curveball they threw at us. Would the curve balls ever stop? Lucky for us, my husband had been welding for over 25 years and once upon a time, he had been WABO certified. The job he was currently doing and had done for the previous 5 years didn’t’ require that qualification. But, again, refusing to give up, Dave got to practicing and after a couple weeks of 1” thick vertical test plates, we arranged for him to take his WABO exam at our local college. SUCCESS!!! On the first attempt – the man really is my hero 🙂 Dave was officially WABO certified, again – yet another obstacle removed!

Third Time’s The Charm – Or Not; Third Party Inspection
Seriously, would the crazy requirements ever stop. It seemed that each time that we went back into our planning department with the previous requirement met, they handed us anther. The newest one – we would have to have all of our structural welds inspected by a certified 3rd party welding Inspector. Not to be deterred, Google will forever be my friend. Thankfully, I found a local Certified Inspector who was also an instructor at the college. He agreed to inspect our welds for the County per their request for a nominal feel. Take that B&P – Nothing is going to stop us from reaching our dream of building a shipping container home!!!
Fourth Time & Finally, Success!!!
After jumping through their design hoops for our stairs, paying $5,000 for a Structural Engineer, WABO certification and finally retaining a Certified Welding Inspector, Building & Planning accepted our permit fee and our plans. In our County at the time, it was taking on average 60 days to receive a building permit. Maybe making friends with the county helped, maybe it was sympathy for all the obstacles they put in our path that we refused to succumb to… regardless, our B&P came through for us and within 3 weeks we had our building permit in hand and were ready to start. The time had come to make our dream a reality.
To be continued…
Chasing our dreams,
Jaimie & Dave

Hello my name is Ann, this is the first time I have read your blog and it’s really interesting! I hope Dave has fully recovered, that part of the experience would have been really hard! Your home is really beautiful! Love the balcony off the bedroom! Kitchen looks really good and functional! I hope you both enjoy your living life in your beautiful home!
Regards Ann
LikeLiked by 1 person
Ann,
Dave has recovered about 90% of his body function and about 75% of his brain function, but we are beyond blessed and grateful to have every single day to live! Thank you for your kind words 🙂
Jaimie & Dave
LikeLike
Just watched your episode! It was beyond beautiful ❤️ Love your tiny house! Great job! May God bless you with abundant joy! Really enjoyed reading the Blog. My dream’s to build and live in a tiny home with my sweetheart 😇Will definitely be following your blog!
LikeLike
Thank you for your kind words 🙂
LikeLike